Fitness
The Resistance Band Strength Workout For Your Whole Body
Resistance band exercises are a great addition to any training routine. They’re proven to increase strength and stability while burning fat, toning lean muscle, building muscular endurance and maximizing bodyweight workouts.
In fact, back in 2011 a study published in the Journal of Human Kinetics found no significant differences between those who exercised with resistance bands and those who used free weights like dumbbells.
Just like free weights, bands come in a variety of sizes, lengths, and strengths. They are a multifunctional tool, making them perfect for whatever your training goal.
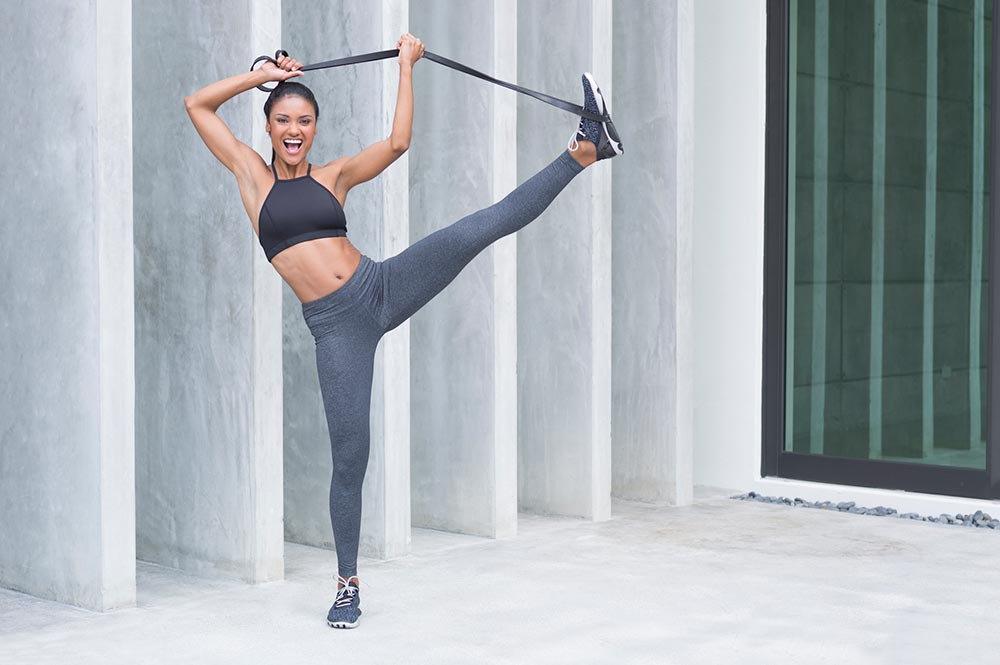
Resistance band company Let’s Band produces pure rubber, toxin-free Powerbands. Expert trainer, Carina Bungard, from the brand, tells TRAIN for HER: “The adjustable tension of the Powerbands minimizes joint stress while maximizing the impact on the targeted muscle groups.
Here she shares her go-to full body resistance band exercises with us.
“Our band workouts support functional movements and muscle strength potential,” she says. “Both the concentric and eccentric parts of the exercises have resistance, resulting in better range of motion and complete stimulation.
“Every aspect of physical fitness is targeted to make you stronger, leaner and healthier in record time.”
If you’re short on time and need to squeeze in a full body strength workout, here’s a quick full body blast from Carina.
1. Banded Squat
Strengthen the glutes, leg muscles and lower back.
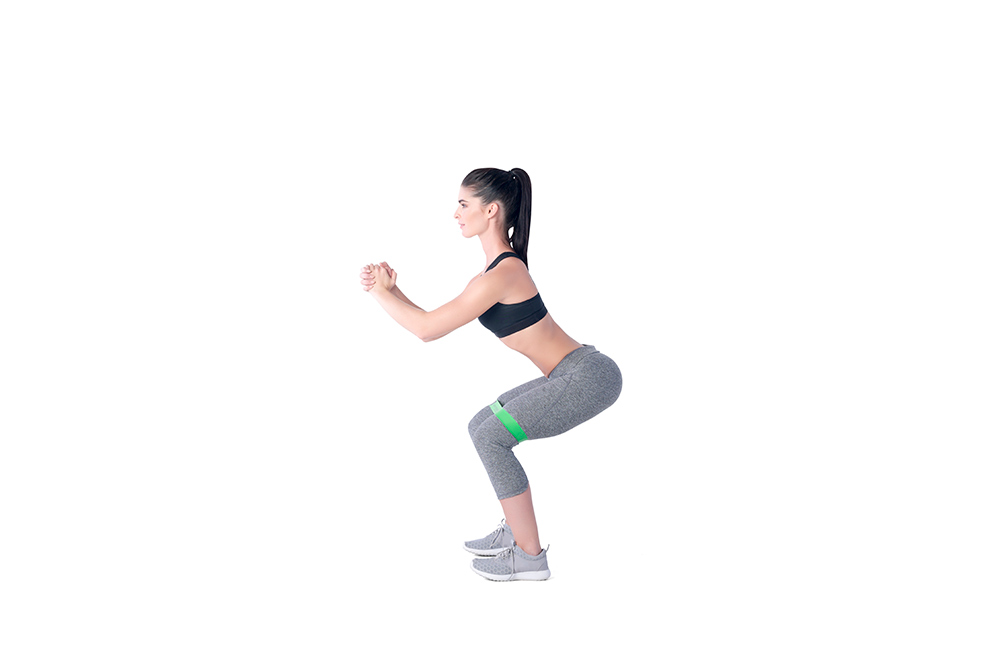 Start Position
Place a powerband MINI above your knees and take a hip-to-shoulder width stance.
Your toes are pointing forward.
Get the band under tension by pushing your knees out.
Performing Exercise
Put your weight on your heels and lower yourself down into a squat position.
Keep your back straight and your core tight.
Get back up by squeezing your glutes and pushing yourself up through your heels.
12 – 15 reps, 50 seconds.
Coaching Key
Keep your knees behind your toes.
Move your hip backward as if you were sitting down on a chair. Keep your upper body upright, your core tight and your back straight.
Permanently push your knees out to keep the band under tension and avoid rotating your knees inwards.
2. Single Leg Glute Bridge
Activate and strengthen the glutes, hamstring and calves.
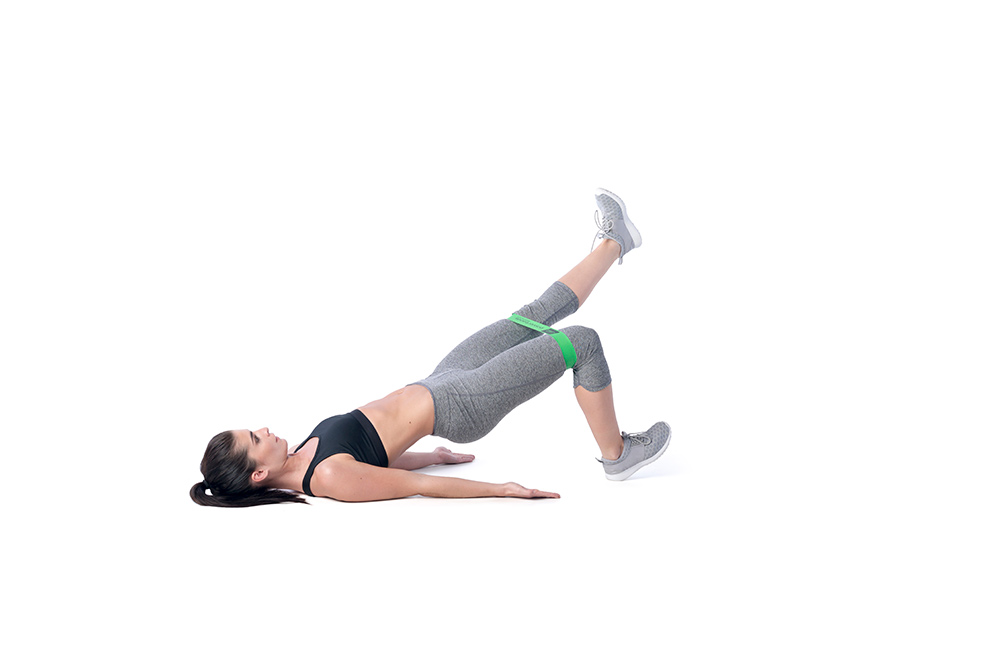
Start Position
Place a powerband MINI above your knees and lie down on your back.
Bend your knees and put your feet on the floor with your toes facing up towards the ceiling.
Your arms are down by your sides with your palms facing up.
Performing Exercise
Extend one leg out in front of you while keeping the hips in the same position.
Make sure the glutes are tight and the core is braced, then bring your leg back in.
4-12 reps, 80 seconds each leg.
Coaching Key
Avoid arching your lower back or letting your pelvis rotate as you extend one leg.
Feel that you are driving the heel into the ground to get a good connection with the glute muscles.
3. Core Plank
Activate the core and leg muscles.
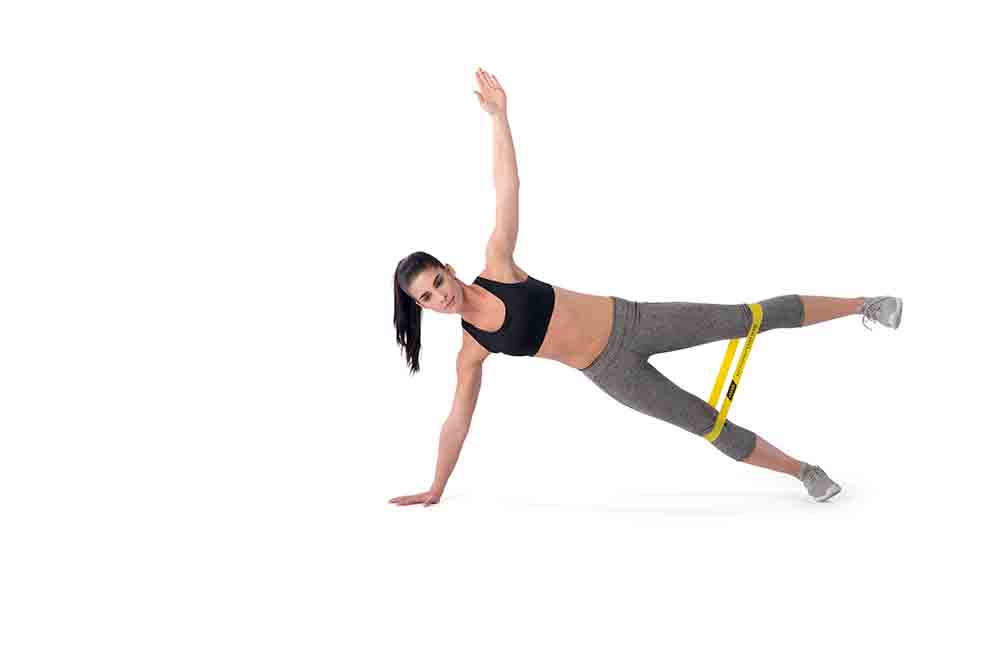
Start Position
Start by placing the band slightly below the knees. Get into a side plank position supported with one arm and the other arm reached straight above you.
Keep the hips high off the ground, spin in neutral and the core braced.
Performing Exercise
While maintaining a stable side plank position, raise the top leg up in the air against the resistance of the band while keeping the leg straight.
10-12 reps, 120 seconds.
Coaching Key
Keep your hips high off the ground as you raise the leg.
Avoid bending the knee or arching your lower back as your raise.
4. Bear March
Improves core stability.
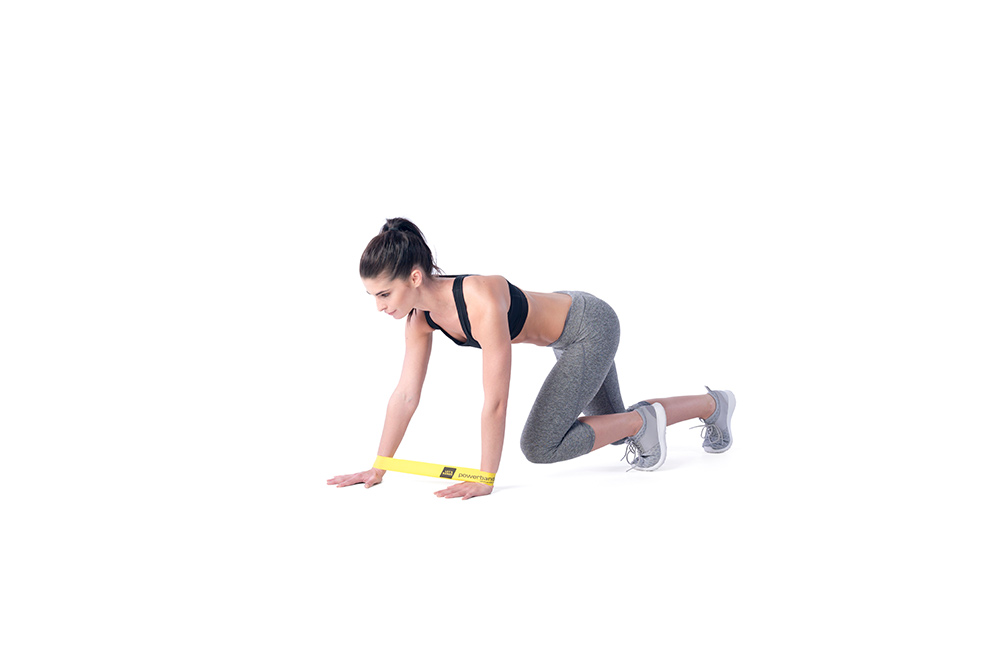
Start Position
Place a powerband MINI around your wrists.
Get on all fours with your knees lifted off the ground and bring the bands under tension.
Pull your shoulders down and away from your ears.
Performing Exercise
Crawl forward and backward with opposing limbs moving at the same time.
Always keep bands under tension, your back straight and your hips as stable as possible without rotating to the sides.
Your knees should remain off the ground at all time.
10 meters, 60 seconds.
Coaching Key
Keep your knees down do not lift them up higher than fist height off the ground.
Maintain a permanent tension in your core and your back straight.
Do not hollow or arch your lower back, keep pulling your shoulders down and away from your ears.
5. Front Raise
Strengthen the shoulder muscles.
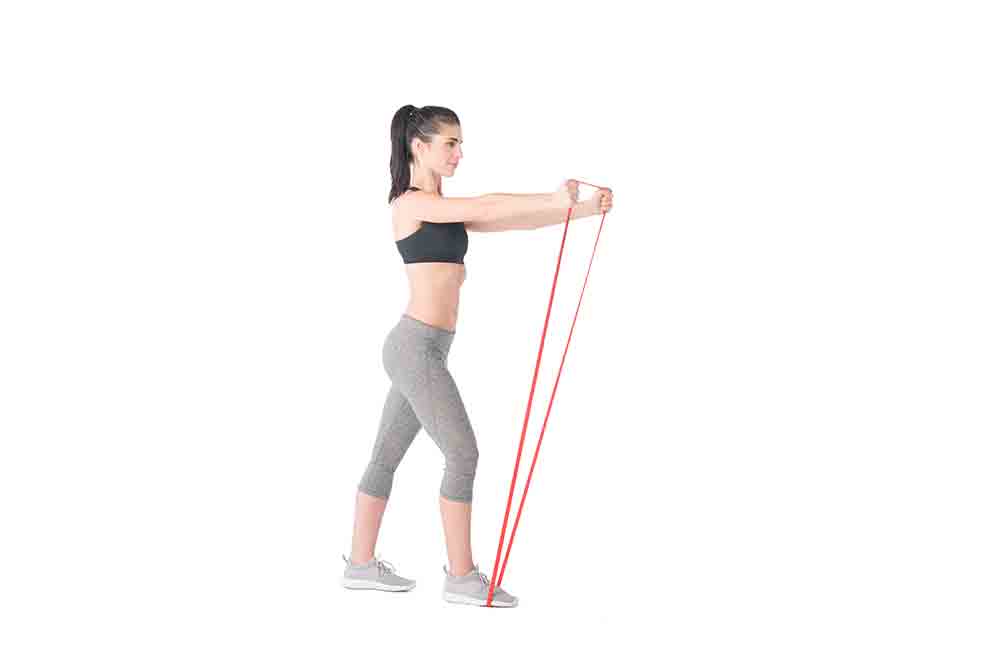
Start Position
Stand on a powerband MAX with one foot and an off-set stance.
Grab the band with both hands. The band should be slightly under tension.
Performing Exercise
Raise your extended arms up until shoulder level then lower them back down.
Keep pulling your shoulders down and away from your ears.
8-12 reps, 50 seconds.
Coaching Key
Keep your shoulders away from your ears.
If the resistance is too high, take a narrower stance.
6. Overhead Press Single Raise
Strengthen the shoulder and leg muscles, whilst challenging the core.
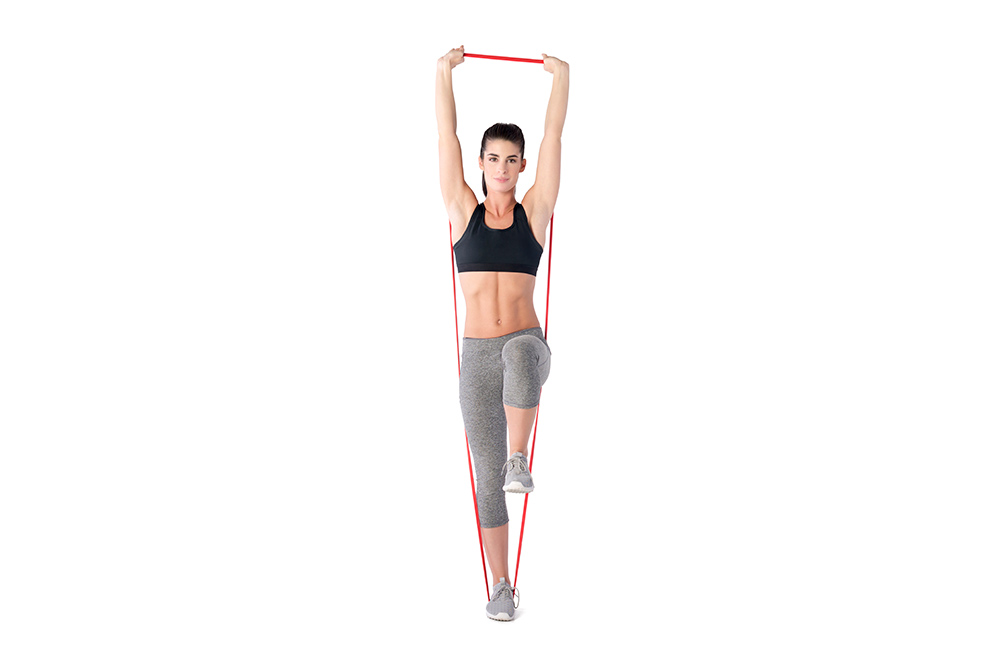
Start Position
Start by stepping on top of the band. Find your balance on one leg and pull the other leg up towards your chest.
Grip the band and pull it up to shoulder height and width.
Keep spine in neutral and engage the core and glute muscles.
Performing Exercise
Press the band over your head until you reach full extension in the arms.
Keep core braced and your glute squeezed. Maintain the balance on one leg slowly lower the band back to the start position.
9-12 reps, 120 seconds.
Coaching Key
Make sure that the band is pressed over the head and not in front.
Avoid excessive arching of the lower back while pressing.
Let’s Bands Powerbands MINI, MAX, FLEX and TUBE are available in four progressive color-coded levels of resistance to suit all fitness levels. To find out more about resistance training or to buy Let’s Bands Powerbands visit www.letsbands.com
For more workouts like these resistance band exercises, sign up for the TRAIN for HER newsletter today!


